In Ground TrampolineLife StylePositive
“Digging In: How should I dig my in-ground trampoline”
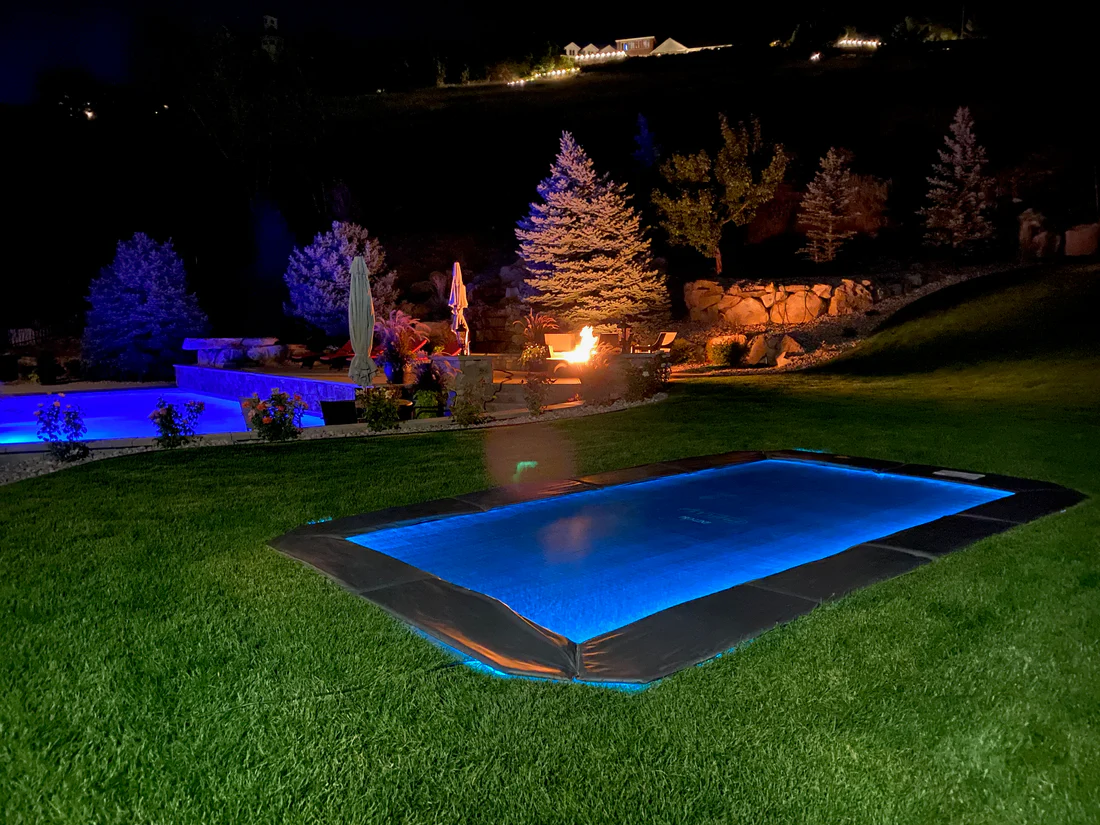
In-ground trampolines have become increasingly popular in recent years due to their safety features and aesthetic appeal. However, the process of installing one can be intimidating, especially if you’re unsure of how to properly dig in the trampoline. In this article, we’ll go over the steps you’ll need to take to install your in-ground trampoline, including site preparation, digging, and installation.
Site Preparation:
Before you begin digging, it’s important to choose the right location for your in-ground trampoline. Look for an area that is level, clear of debris, and has plenty of space around it for safety. Once you’ve chosen a location, mark the area and remove any grass or plants within the marked area. You may also want to consider laying a tarp or landscape fabric to prevent weeds from growing under the trampoline.
Digging:
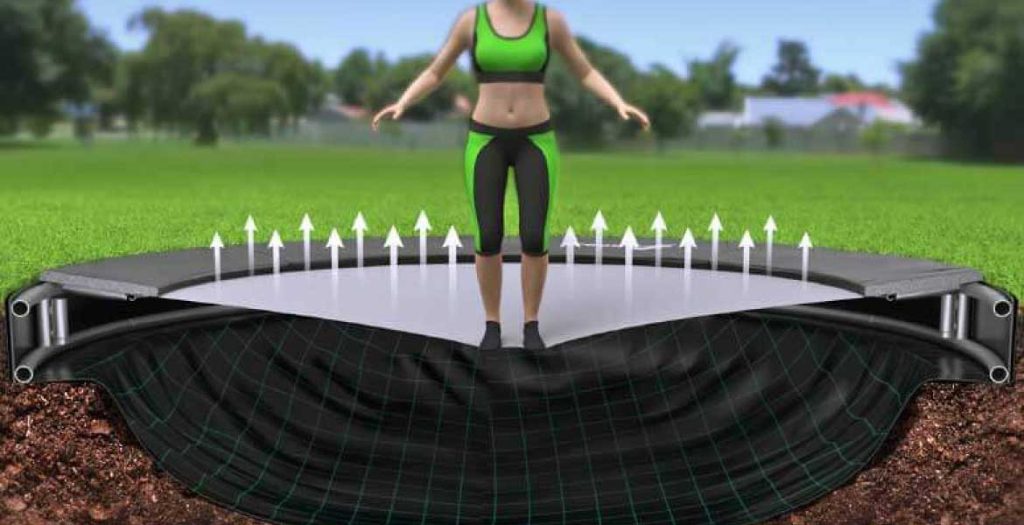
The next step is to dig the hole for your in-ground trampoline. The size of the hole will depend on the size of your trampoline, but a good rule of thumb is to dig a hole that is 2-3 feet larger than the diameter of the trampoline. This will allow for proper drainage and air circulation.
To begin digging, use a shovel or post hole digger to remove the top layer of soil. Be sure to set the soil aside for later use. Once you’ve removed the top layer, use a pickaxe or digging bar to break up the soil and remove any rocks or roots. Continue digging until you’ve reached the desired depth, which should be at least 2-3 feet deep.
Installation:
Once the hole is dug, it’s time to install the trampoline. Start by assembling the frame and mat according to the manufacturer’s instructions. Then, carefully lower the assembled trampoline into the hole. Make sure the trampoline is level and centered in the hole before beginning to backfill the hole with the soil that was removed earlier. It’s important to backfill the hole in small increments, tamping the soil down as you go, to ensure that the trampoline remains level.
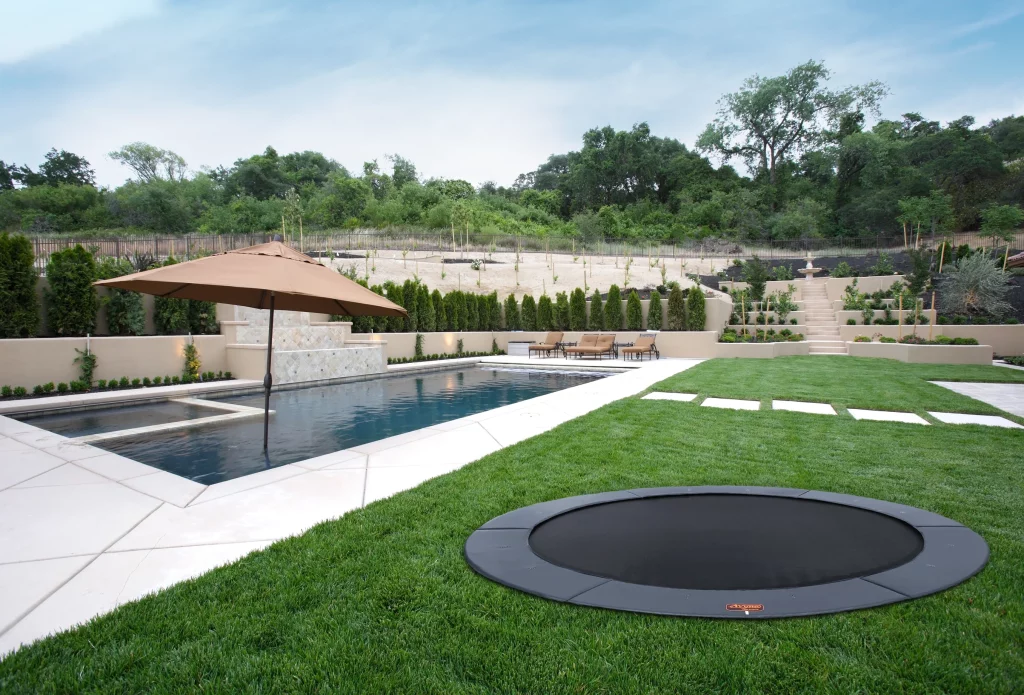
Once the hole is filled and the trampoline is level, add a layer of landscaping stones or mulch around the perimeter of the trampoline to provide a finished look and prevent weeds from growing around the edges. Finally, add a safety net or enclosure if desired.
Installing an in-ground trampoline can be a challenging task, but by following these steps, you can ensure that your trampoline is installed safely and securely. Remember to always follow the manufacturer’s instructions and take the necessary safety precautions to prevent injury. With a little patience and hard work, you’ll be enjoying your in-ground trampoline in no time.